Back to Section 2
Or... Home
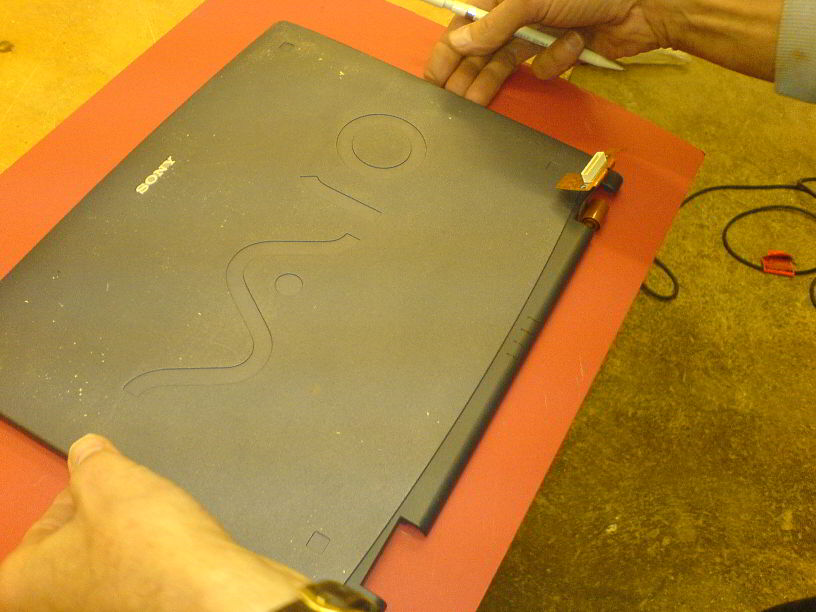
Step 16: View of the screen at the back of the mount:
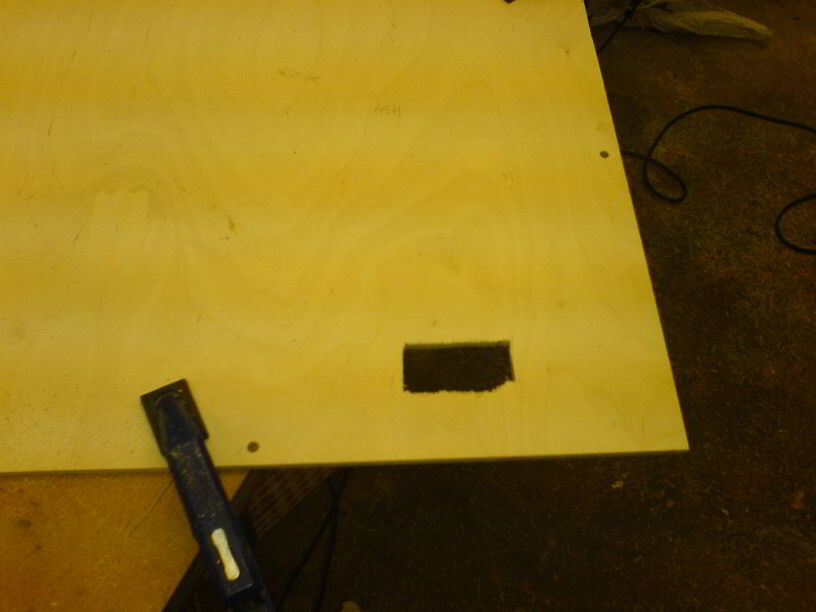
Step 17: Position the plywood and figure out where to cut a hole to thread the ribbon cable through. Then cut it. :)
Step 18: Assemble it all together. See if it all look OK.
Back:
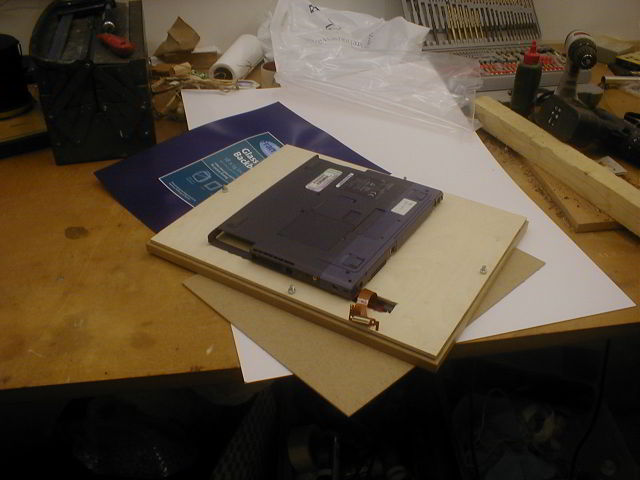
Front:

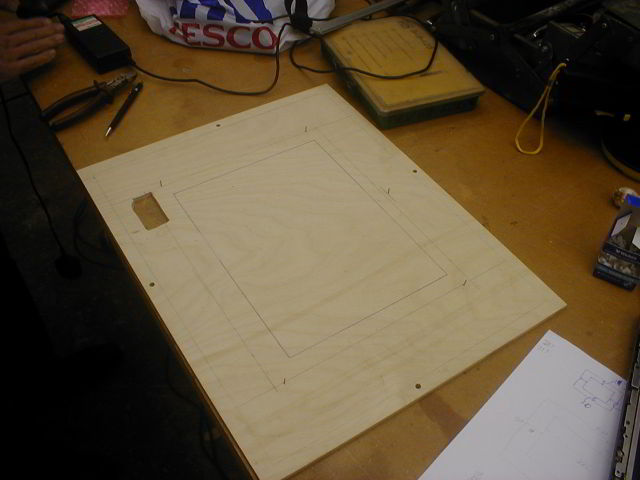
Step 19: Now we need to mount the LCD onto the plywood, so that it won't slide around. You will need to do some clever drawing to make sure the LCD screen is perfectly lined up with the mount. The glass will hold it to the plywood, but it could slide around. It was decided to use nails to keep it in place. You can just about see the nails, and the lines drawn around the LCD screen.
Step 20: Now we need to mount the main chassis onto the plywood. Strip the laptop as much as you can, remove all unneeded parts, etc.
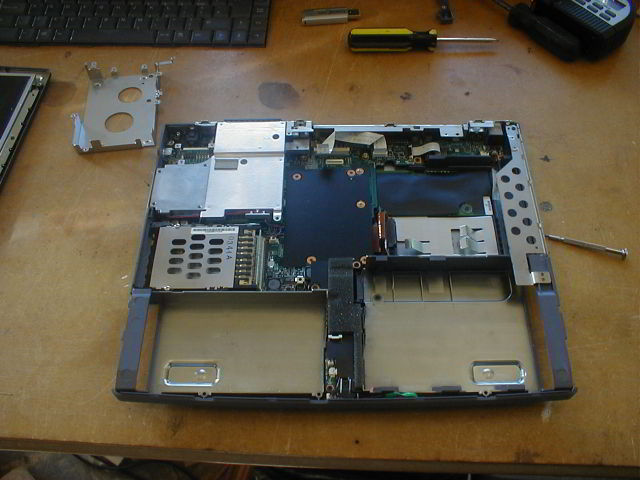
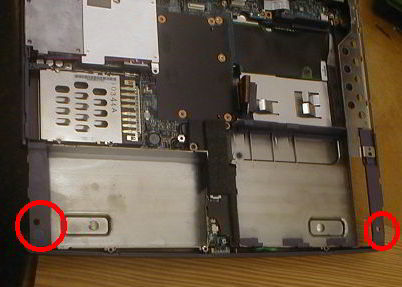
Step 21: Drill through any part of the plastic chassis to make holes for attachment to the plywood. 2 of the holes are circled in red. There will be a metal bar clamping the back part of the chassis to the plywood as there's nowhere safe to drill through the laptop. My better half seems to think the PCMCIA slot on the left is a cheese grater, but whatever...
Step 22: Orient the laptop so that the ribbon cable can plug into the motherboard and figure out where to drill holes through the plywood without going through the LCD. The holes are circled red. Note the holes are outside the outline of the LCD screen:
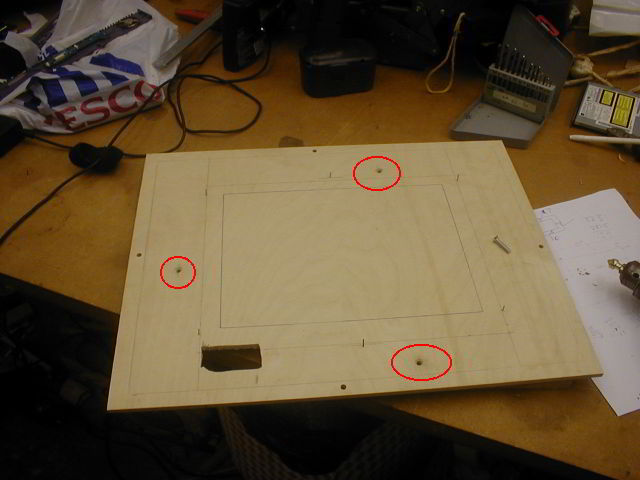
Yes, the chassis is rotated 90 degrees with respect to the LCD screen, but it doesn't really matter.
Forward to Section 4
Or... Home