
Back to Section 1
Or... Home
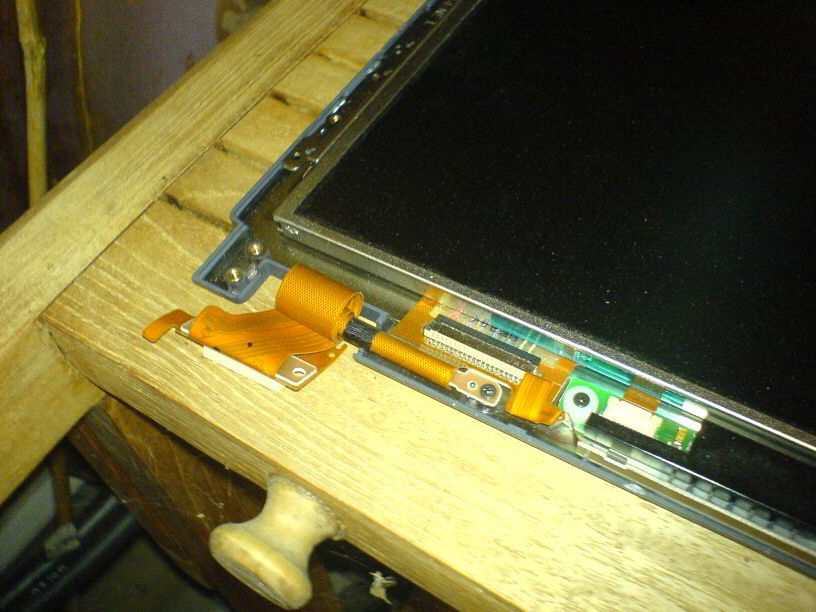
Step 10: Remove the screen surround. This is a delicate step, as you can crack plastic, although most of the plastic won't be needed. Be careful not to snap any cables or damage the inverter board - for this one, it's at the bottom of the screen.
Closeup of the ribbon cable. Most laptops won't have this, I was lucky to have this:
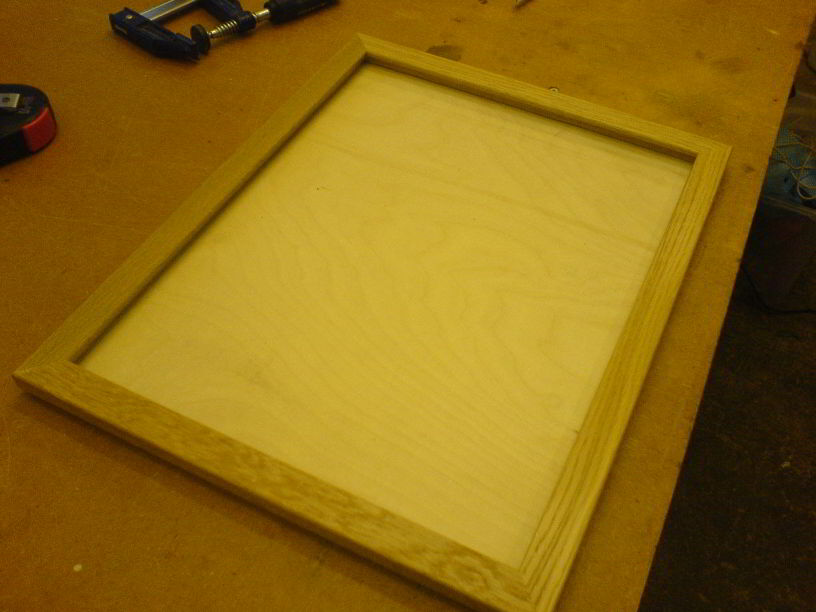
Step 11: After some thought, it was decided to mount the screen on a piece of plywood, the main chassis on the other side of the plywood, thread the ribbon cable through the plywood to connect the 2 halves, and bolt the frame onto top of the screen. We cut a piece of plywood slightly smaller than the outer edges of the frame. You may elect to do it in a different method. The picture shows the plywood on bottom, and the frame on top. The screen will be mounted directly on the plywood.
Step 12: There needed to be a way to hold the frame and the plywood together, so we decided to cut a long threaded rod, glue it onto the frame and drill holes for the plywood, and use nuts to hold it all together. In this picture, we have drilled holes in the frame and plywood and test fitted the rod onto the frame:
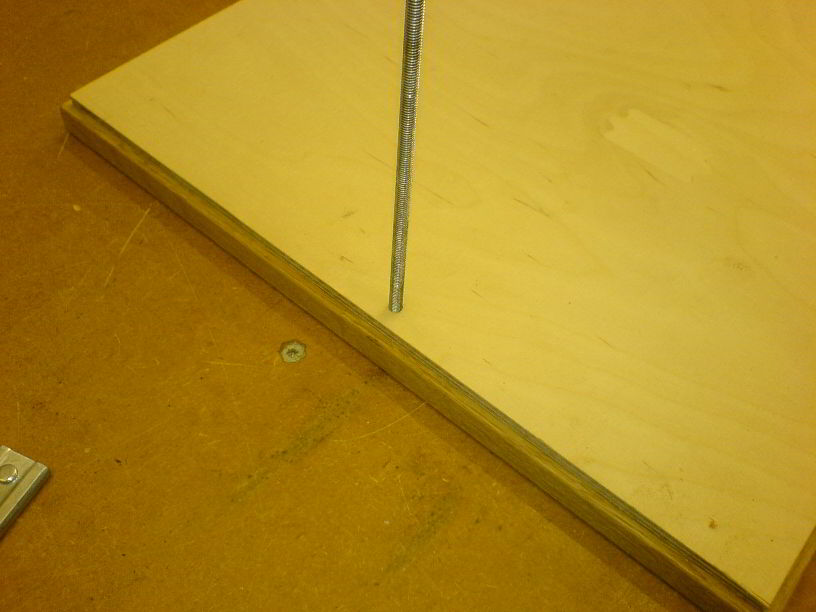
Step 13: Now the rod has been cut and glued onto the frame:
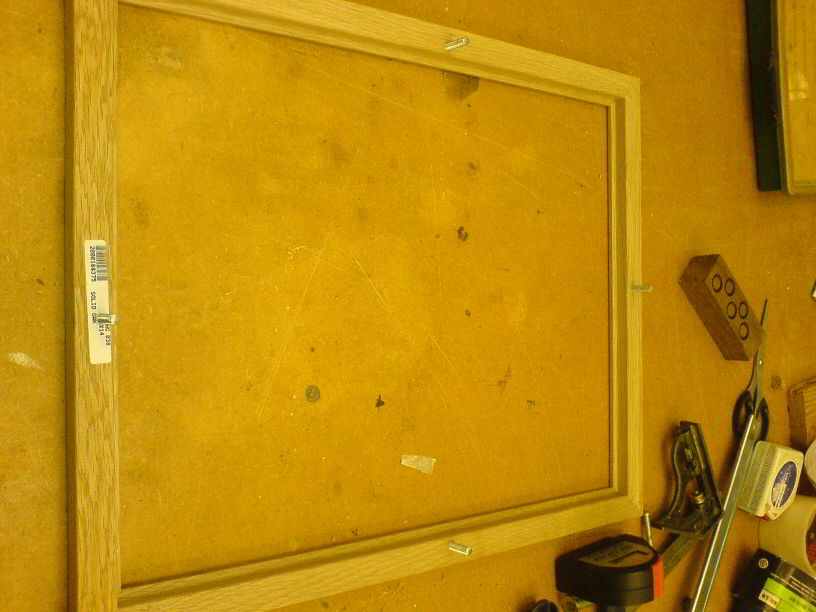
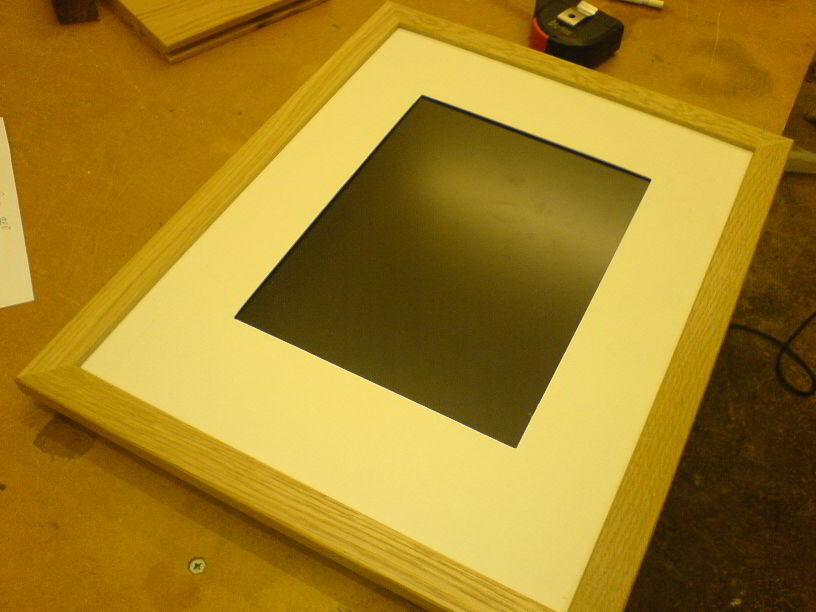
Step 14: Cut a hole out of the mount (white piece of cardboard/foam surround usually used for pictures) so the LCD screen would poke out:

Step 15: Test fit the mount - you might need to redo the cutting a few times to get it right:
Forward to Section 3
Or... Home