
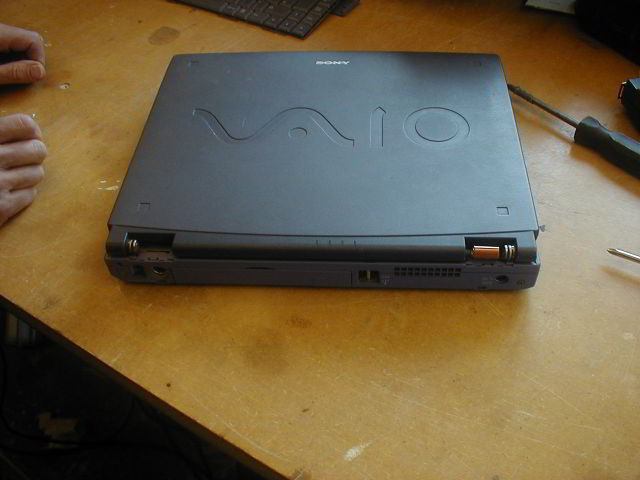
How to turn a laptop like the one pictured below into a digital picture frame? Read on to find out!
With many thanks to my mate who gave me a good laptop in full working order for me to demolish and my dad for helping me :)
Step 1: Find laptop like above off eBay - peferably one with a good quality TFT screen. No point in going into all the effort for a washed out image.
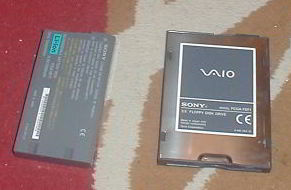
Step 2: Take out the battery and the floppy drive and then sell it or give it away. No longer needed.
Step 3: Take off the top cover containing the power switch/speakers/etc, fold it downwards, and unclip the ribbon cable- usually need to move the plastic clip before it slides out. You may need to use a small flathead screwdriver to pull off the plastic clip - just don't slip and damage the motherboard! To refit, just slide the ribbon cable in and push the plastic clip back on. Different laptops has different ways to connect various stuff, but this one makes good use of ribbon cables. Put the top cover to one side, you'll need it later to power on the laptop.
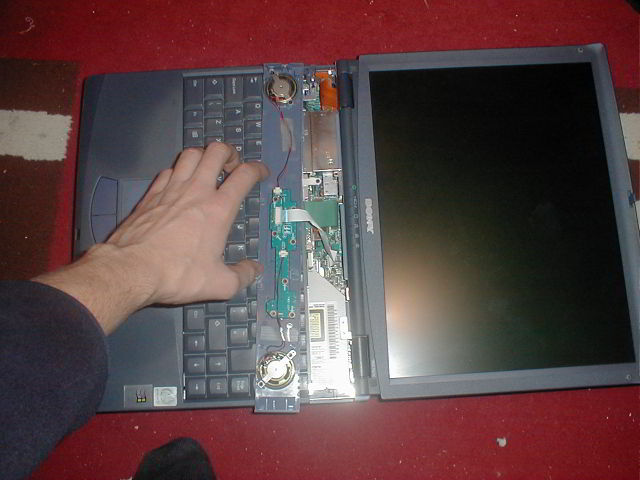
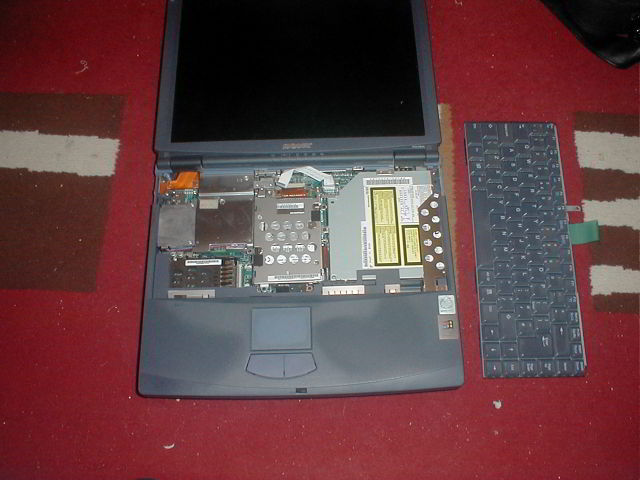
Step 4: Unclip or lift up the keyboard, fold it downwards over the palm rest, and unclip the ribbon cable the same way you did with the top cover. Remove the keyboard. You don't need a keyboard, as you can use an external one, but keep it anyway in case.
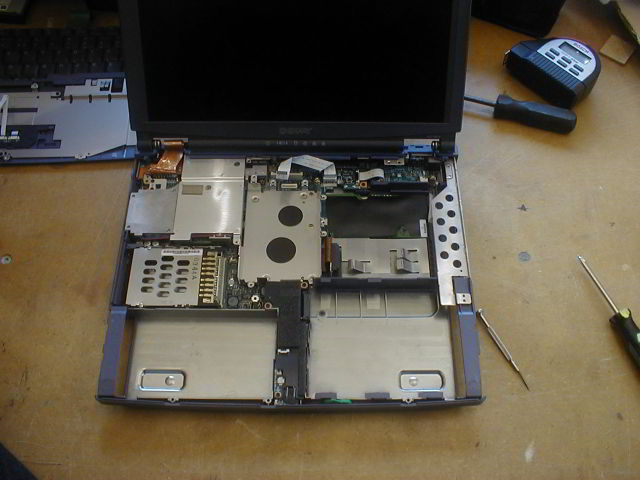
Step 5: Remove the hard drive by unscrewing the screws holding the hard drive to the chassis. The connector just pops off with gentle pulling on the sides.
Step 6: Test your chosen DPF distribution. My chosen distribution works by installing it on a compact flash card and connecting it to the IDE bus and powering up the laptop.

Step 7: If all works OK, then continue to disassemble the laptop as you see fit. I have removed the covers for the screen hinges:
Step 8: Remove CD drive and bottom part of the top cover. Unscrewing and unclipping is required. Be careful of the trackpad, you usually need to move it slightly and unclip any ribbon cables or disconnect cables. Try not to snap any cables. I have discarded the bottom part of the top cover but retained the CD drive. The green blob right at the bottom of the laptop is the CMOS battery. Keep it for obvious reasons!
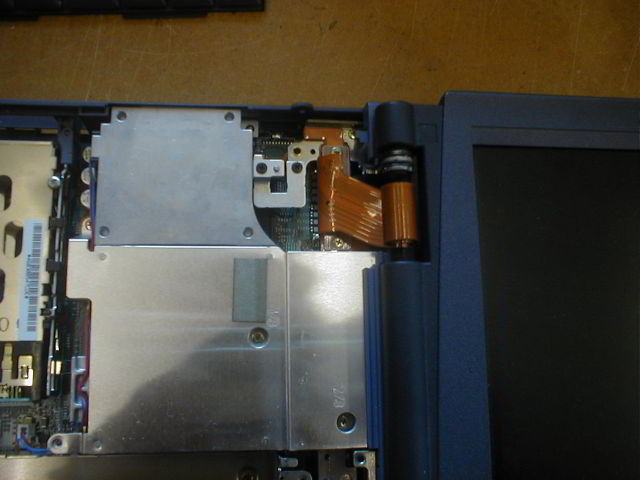
Step 9: Seperate the LCD screen from the main chassis. This is usually one of the hardest step in the procedure, as different laptops are different. This one has well designed hinges and connector cable - this one winds around itself a few times before entering the screen, ensuring that opening/closing the screen won't wear out the cable. Makes it easier for me, as unwinding the cable gives me plenty of room for manuvering, but was bloody hard to remove the hinges. Keep all plastic parts and screws, you might need them later.
Closeup of the hinges:
LCD screen removed from main chassis:

Forward to Section 2
Or... Home