
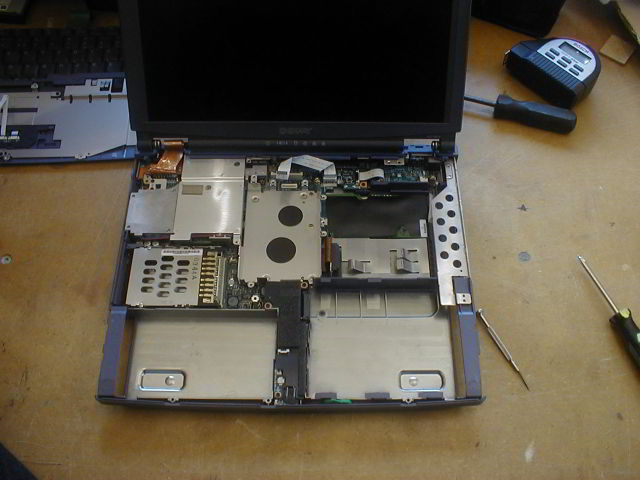
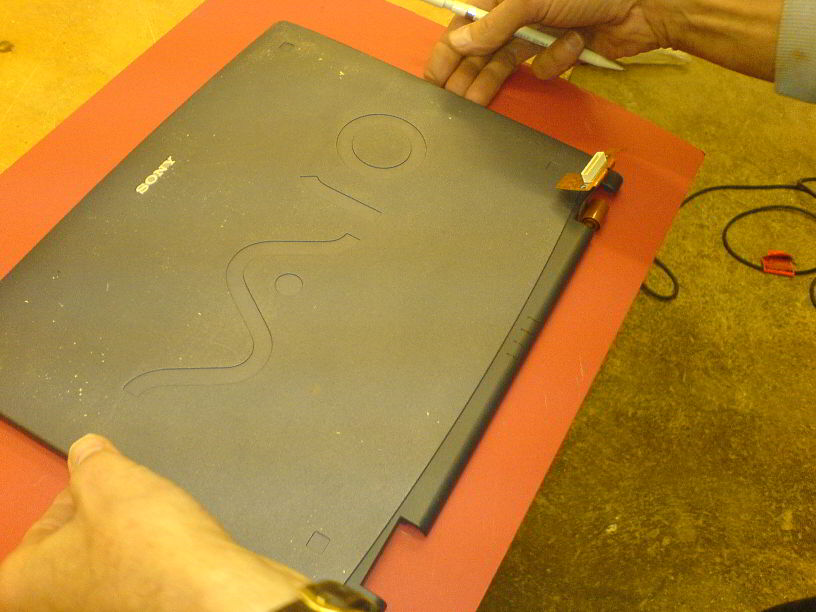
How to turn a laptop like the one pictured below into a digital picture frame? Read on to find out!
With many thanks to my mate who gave me a good laptop in full working order for me to demolish and my dad for helping me :)
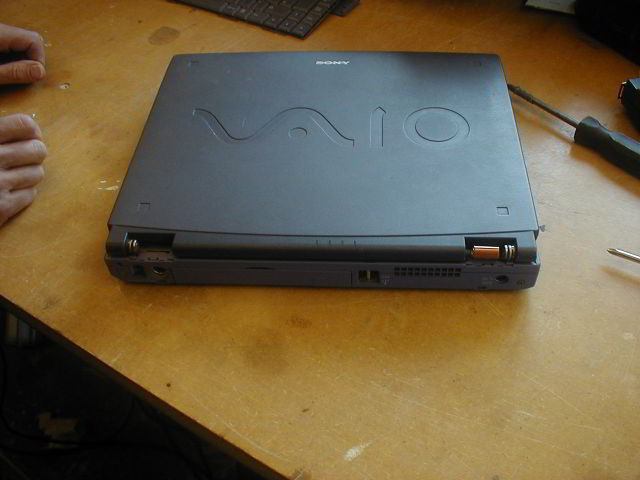
Step 1: Find laptop like above off eBay - peferably one with a good quality TFT screen. No point in going into all the effort for a washed out image.
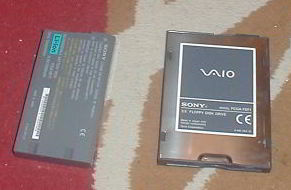
Step 2: Take out the battery and the floppy drive and then sell it or give it away. No longer needed.
Step 3: Take off the top cover containing the power switch/speakers/etc, fold it downwards, and unclip the ribbon cable- usually need to move the plastic clip before it slides out. You may need to use a small flathead screwdriver to pull off the plastic clip - just don't slip and damage the motherboard! To refit, just slide the ribbon cable in and push the plastic clip back on. Different laptops has different ways to connect various stuff, but this one makes good use of ribbon cables. Put the top cover to one side, you'll need it later to power on the laptop.
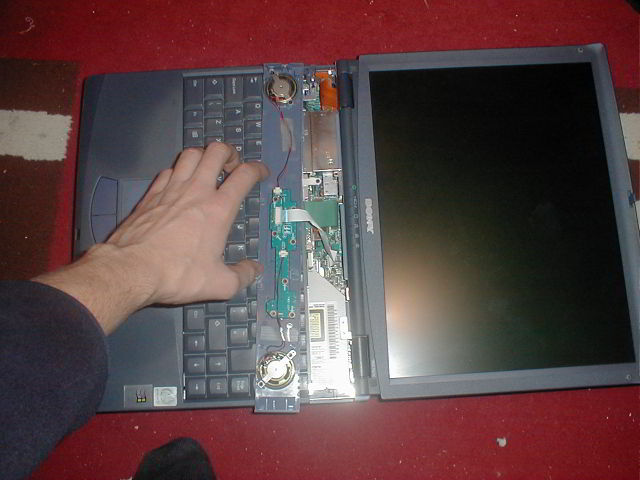
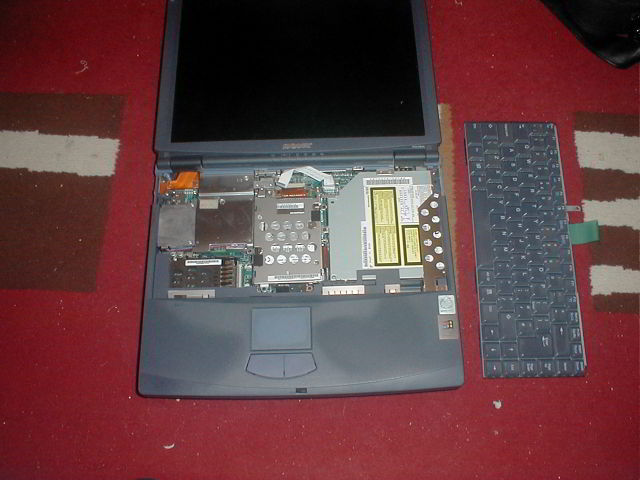
Step 4: Unclip or lift up the keyboard, fold it downwards over the palm rest, and unclip the ribbon cable the same way you did with the top cover. Remove the keyboard. You don't need a keyboard, as you can use an external one, but keep it anyway in case.
Step 5: Remove the hard drive by unscrewing the screws holding the hard drive to the chassis. The connector just pops off with gentle pulling on the sides.
Step 6: Test your chosen DPF distribution. My chosen distribution works by installing it on a compact flash card and connecting it to the IDE bus and powering up the laptop.

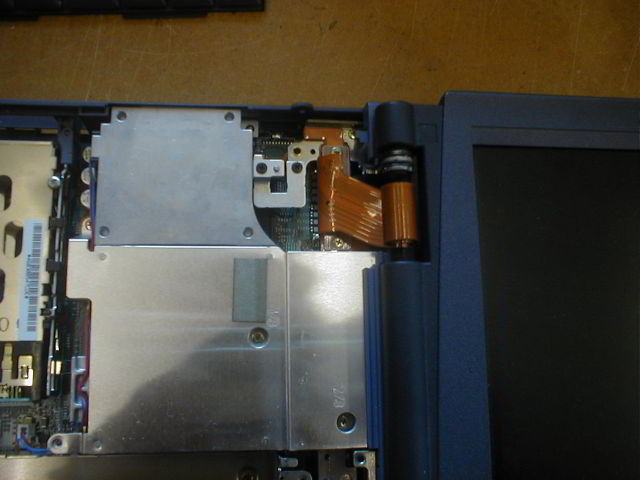
Step 7: If all works OK, then continue to disassemble the laptop as you see fit. I have removed the covers for the screen hinges:
Step 8: Remove CD drive and bottom part of the top cover. Unscrewing and unclipping is required. Be careful of the trackpad, you usually need to move it slightly and unclip any ribbon cables or disconnect cables. Try not to snap any cables. I have discarded the bottom part of the top cover but retained the CD drive. The green blob right at the bottom of the laptop is the CMOS battery. Keep it for obvious reasons!
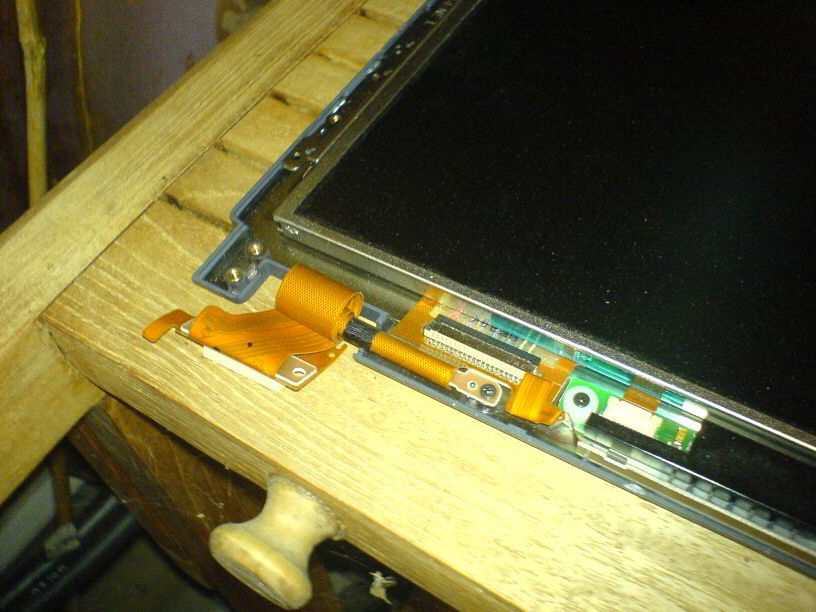
Step 9: Seperate the LCD screen from the main chassis. This is usually one of the hardest step in the procedure, as different laptops are different. This one has well designed hinges and connector cable - this one winds around itself a few times before entering the screen, ensuring that opening/closing the screen won't wear out the cable. Makes it easier for me, as unwinding the cable gives me plenty of room for manuvering, but was bloody hard to remove the hinges. Keep all plastic parts and screws, you might need them later.
Closeup of the hinges:
LCD screen removed from main chassis:

Step 10: Remove the screen surround. This is a delicate step, as you can crack plastic, although most of the plastic won't be needed. Be careful not to snap any cables or damage the inverter board - for this one, it's at the bottom of the screen.

Closeup of the ribbon cable. Most laptops won't have this, I was lucky to have this:
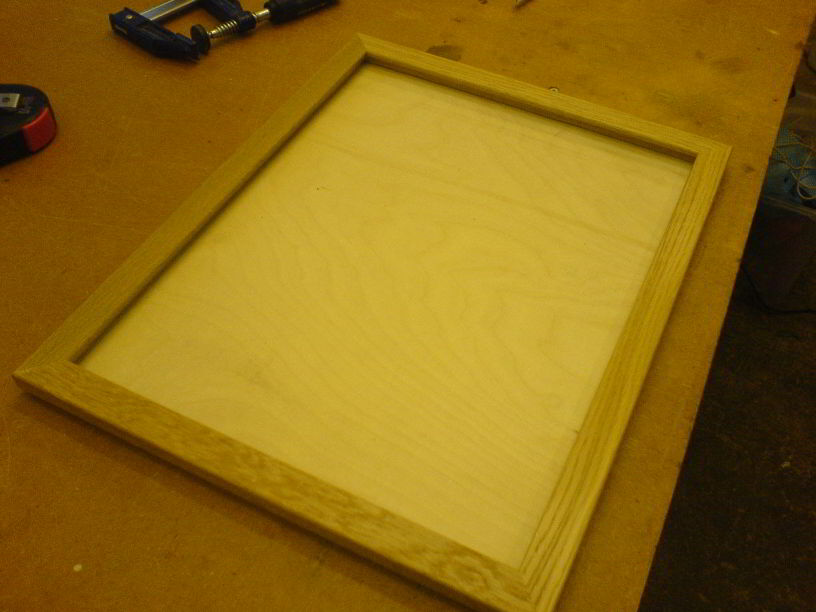
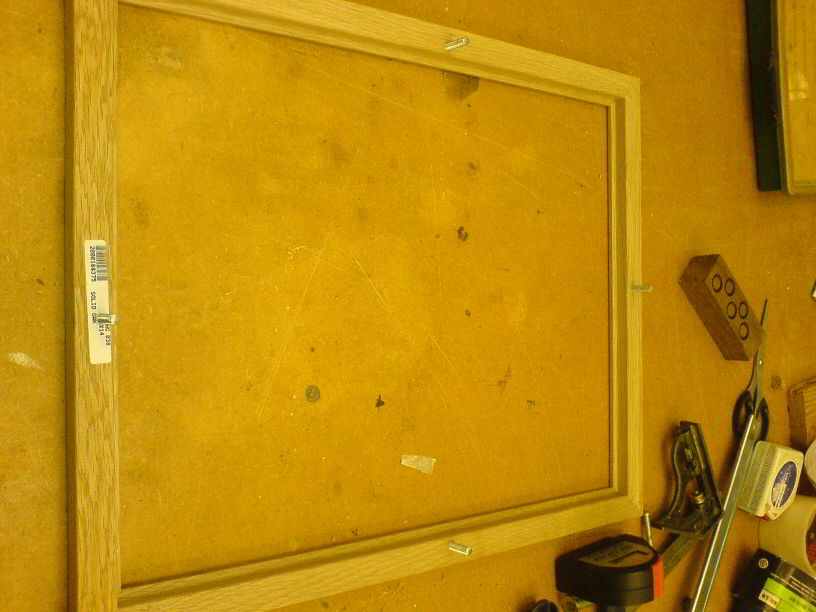
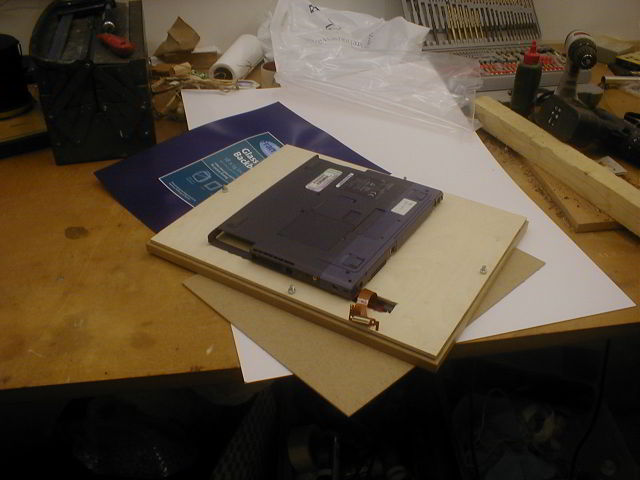
Step 11: After some thought, it was decided to mount the screen on a piece of plywood, the main chassis on the other side of the plywood, thread the ribbon cable through the plywood to connect the 2 halves, and bolt the frame onto top of the screen. We cut a piece of plywood slightly smaller than the outer edges of the frame. You may elect to do it in a different method. The picture shows the plywood on bottom, and the frame on top. The screen will be mounted directly on the plywood.
Step 12: There needed to be a way to hold the frame and the plywood together, so we decided to cut a long threaded rod, glue it onto the frame and drill holes for the plywood, and use nuts to hold it all together. In this picture, we have drilled holes in the frame and plywood and test fitted the rod onto the frame:
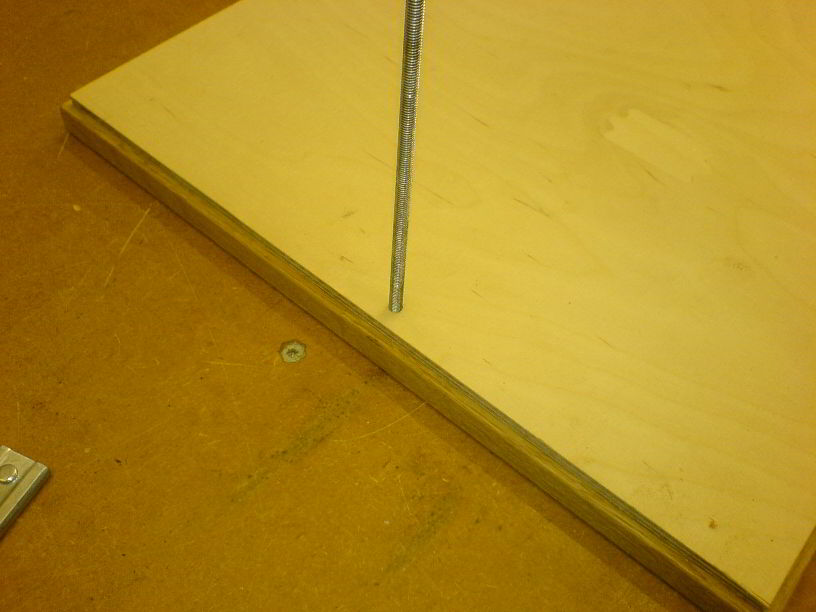
Step 13: Now the rod has been cut and glued onto the frame:
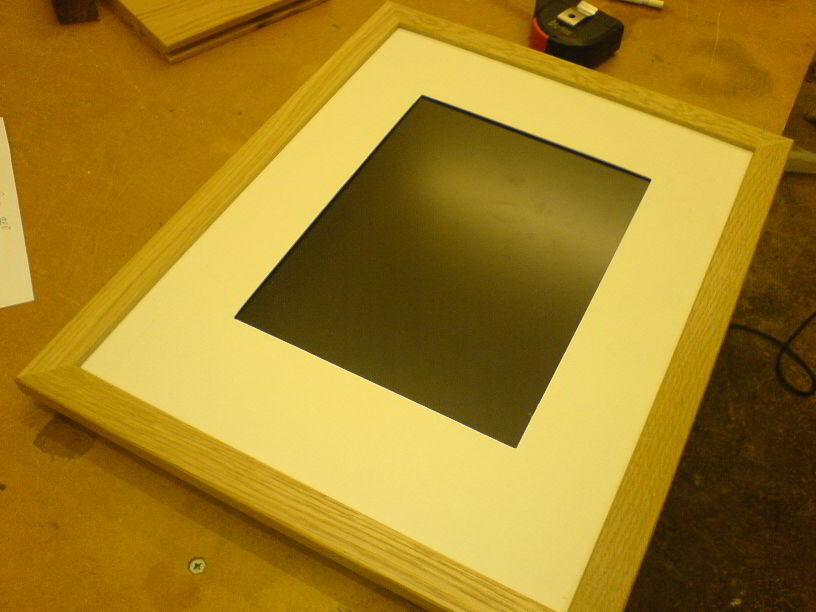
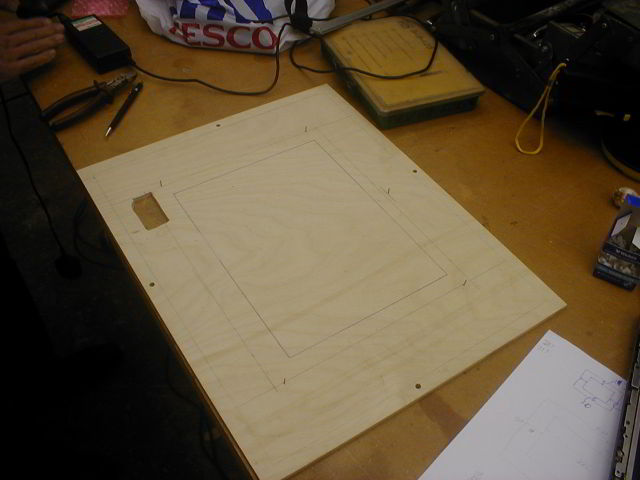
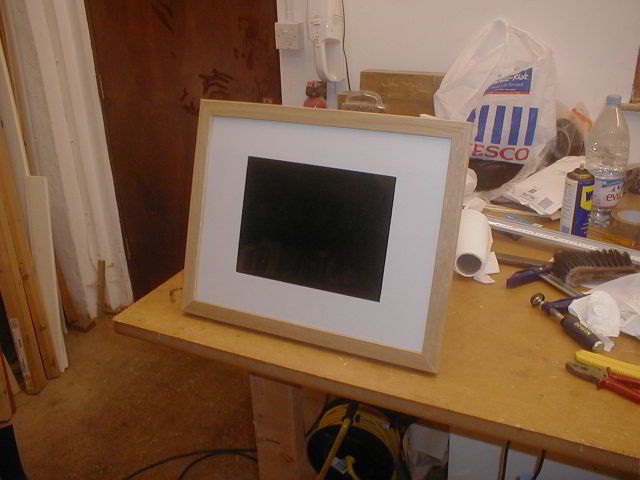
Step 14: Cut a hole out of the mount (white piece of cardboard/foam surround usually used for pictures) so the LCD screen would poke out:

Step 15: Test fit the mount - you might need to redo the cutting a few times to get it right:
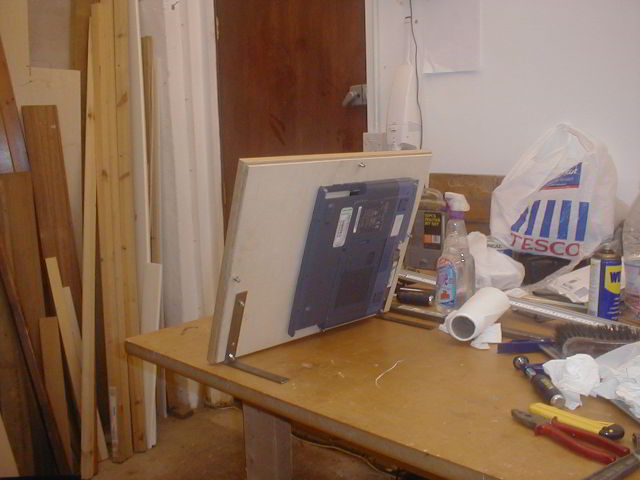
Step 16: View of the screen at the back of the mount:
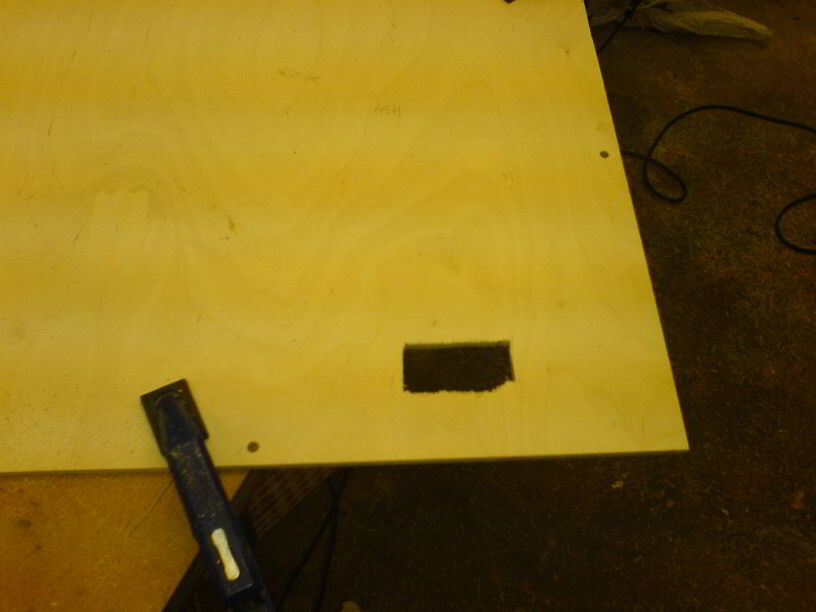
Step 17: Position the plywood and figure out where to cut a hole to thread the ribbon cable through. Then cut it. :)
Step 18: Assemble it all together. See if it all look OK.
Back:
Front:

Step 19: Now we need to mount the LCD onto the plywood, so that it won't slide around. You will need to do some clever drawing to make sure the LCD screen is perfectly lined up with the mount. The glass will hold it to the plywood, but it could slide around. It was decided to use nails to keep it in place. You can just about see the nails, and the lines drawn around the LCD screen.
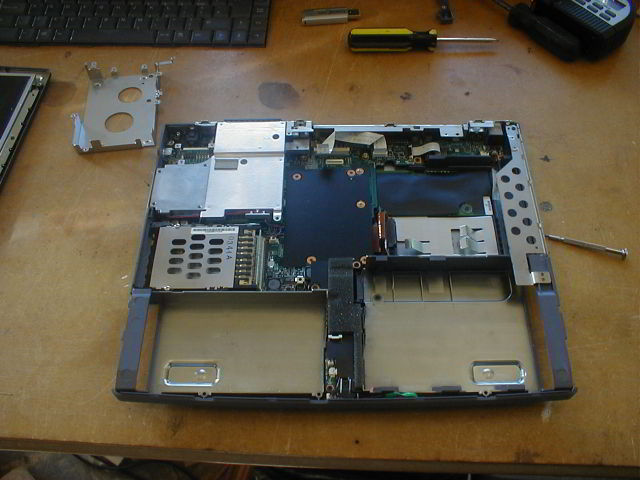
Step 20: Now we need to mount the main chassis onto the plywood. Strip the laptop as much as you can, remove all unneeded parts, etc.
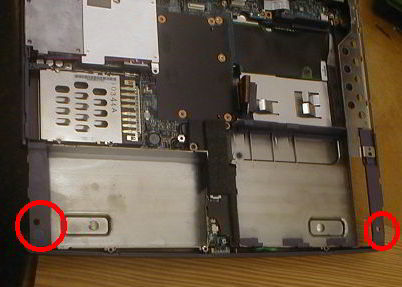
Step 21: Drill through any part of the plastic chassis to make holes for attachment to the plywood. 2 of the holes are circled in red. There will be a metal bar clamping the back part of the chassis to the plywood as there's nowhere safe to drill through the laptop. My better half seems to think the PCMCIA slot on the left is a cheese grater, but whatever...
Step 22: Orient the laptop so that the ribbon cable can plug into the motherboard and figure out where to drill holes through the plywood without going through the LCD. The holes are circled red. Note the holes are outside the outline of the LCD screen:
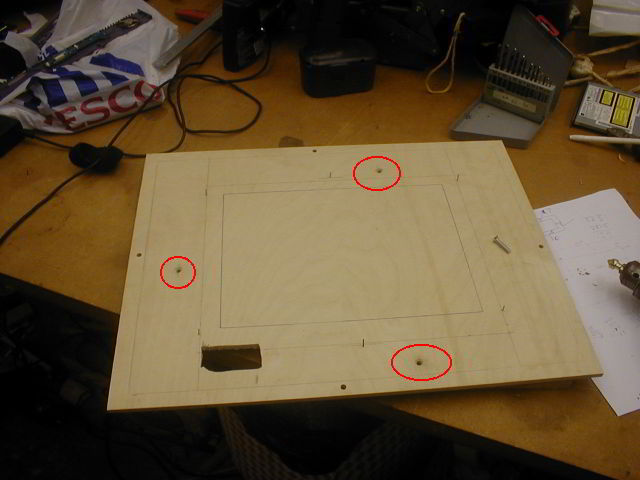
Yes, the chassis is rotated 90 degrees with respect to the LCD screen, but it doesn't really matter.
Step 23: Test fit the chassis. I've gone a bit far, so the next 2 steps will refer back to this pic. Note the nuts going through the laptop at the top:

Step 24: Cut the top cover removing the unneeded speakers leaving the power switch. I've left the other 2 switches there as the 3 switches share the same circuit board. Refer to pic 23.
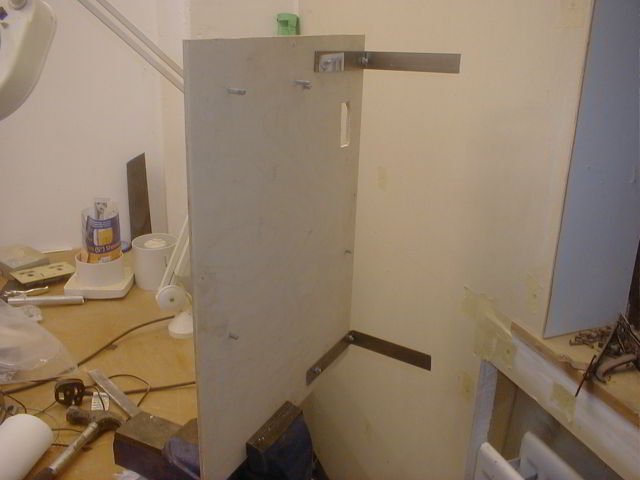
Step 25: Obtain a strip of aluminium and cut a bit and bend to make into legs and attach to the plywood to make the frame stand up.
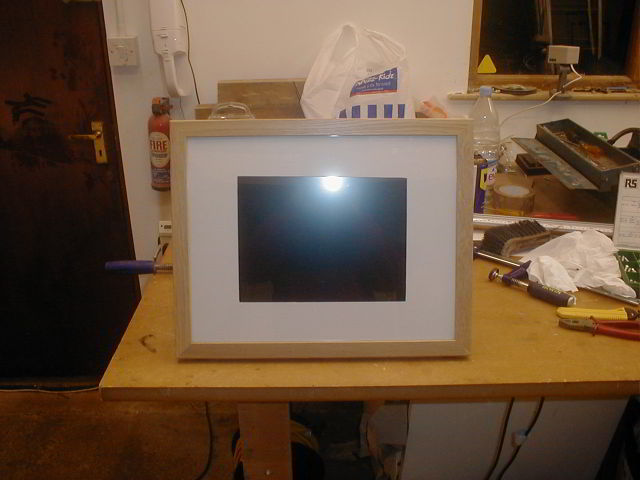
Step 26: Assemble the whole she-bang:

Step 27: ... and admire!

Step 28: Pray down to your mighty mate who gave you the laptop:

Step 29, and the final step: Wait 3 years for your better half to *finally* use the bloody thing....